Die Cutting and Folding for Scent Cards: Rules That Avoid Waste
A scent card design looks perfect on screen and wasteful on the press: shapes nested so loosely that a third of the sheet is scrap, a fold placed against the grain so every card cracks, and a die line that drifts a millimetre off the print
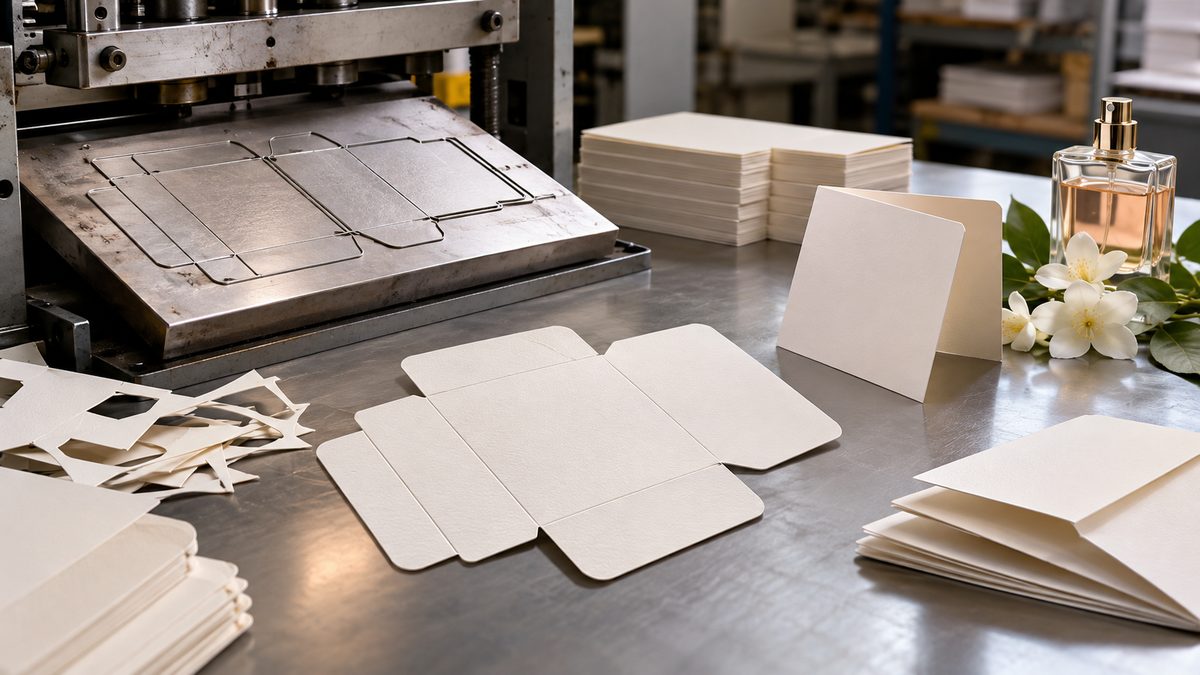
A scent card design looks perfect on screen and wasteful on the press: shapes nested so loosely that a third of the sheet is scrap, a fold placed against the grain so every card cracks, and a die line that drifts a millimetre off the print so the cut runs through the logo. The design never accounted for the physics of cutting and folding, and the cost shows up as waste and rejects.
This article explains the rules of die cutting and folding for scent cards — nesting, grain direction, scoring, bleed and registration — and how to apply them so a card is produced cleanly and economically.
Table of Contents
- Die cutting and folding: the basic mechanics
- Nesting and the cost of wasted sheet
- Grain direction and why folds crack
- Scoring and creasing for a clean fold
- Bleed and registration between print and die
- Geometry rules that keep the die reliable
- Common defects and where they come from
- Practical guide: die-cutting scent cards without waste
- Frequently asked questions
- Conclusion
Die cutting and folding: the basic mechanics
A die is a steel-rule form that cuts or creases the sheet in a single press stroke. Cutting rules slice through the substrate; creasing rules press a groove that lets the card fold cleanly. The distinction matters because a fold that is cut instead of creased will tear, and a crease that is intended to cut will leave a card attached to the sheet.
Through-cut versus kiss-cut
A through-cut separates the card from the sheet completely; a kiss-cut cuts through the top layer only, leaving a backing intact so cards peel off. The choice depends on the product — a peel-off card on a backing versus a loose card — and it changes the die, the pressure and the waste handling, so it must be decided before the tooling is made.
Registration is the binding constraint
The die must land exactly on the printed image, and that alignment — registration — is what most die-cutting problems come back to. A die that is correct but registered poorly cuts through the artwork instead of around it, and no amount of design polish fixes a cut that is a millimetre off.
Nesting and the cost of wasted sheet
Nesting is how the card shapes are arranged on the sheet, and it is the main lever on material cost. Tight nesting puts shapes edge to edge and recovers more cards per sheet; loose nesting leaves bridges of scrap between them. The difference is paid for in every sheet, so a poorly nested design is a permanent tax on the product.
If a shape is too costly to nest, the customisation process can propose a geometry that cuts cleanly and wastes less sheet.
Balance nesting against cut quality
Shapes cannot nest to zero gap, because the die needs a bridge of material between cuts to stay rigid and the cut needs a minimum spacing. The art is to find the tightest nesting that still cuts cleanly, rather than pushing the gap so small that the die flexes and edges tear. Shape complexity drives the waste number too — simple rectangles nest tightly, intricate silhouettes with deep notches force scrap. The commercial context is covered in our scent-card packaging note.
Grain direction and why folds crack
Paper and board have a grain — the direction in which most fibres align during manufacture — and the material folds cleanly along the grain but cracks across it. A fold placed against the grain breaks the fibres instead of bending them, producing a cracked or ragged fold line even when the design and die are otherwise correct.
Align folds with the grain
The first rule of folding is to run fold lines parallel to the grain wherever possible. When a design forces a fold against the grain, the fix is a heavier crease, a different substrate or a design change — not pressing harder, which splits the surface. Grain also influences how a folded card lies: a card folded against the grain can spring open or curl, which matters for a card that must stand in a holder or lie flat.
Scoring and creasing for a clean fold
A fold line needs a crease, and the crease must be matched to the substrate's weight. Light paper may fold with a simple score; heavier board needs a deeper crease that compresses the fibres without cutting them, so the fold hinges cleanly instead of splitting. The heavier the board, the more the crease matters.
Crease depth and the risk of cracking
Too shallow a crease and the board cracks on the fold; too deep and it cuts through, weakening the hinge. The correct depth is a property of the substrate and its coating, worked out on a sample, not assumed from a chart. A coated or laminated surface is brittle relative to the core and cracks at the fold even when the core bends, so a heavy varnish on a fold line is a standing invitation to a cracked edge.
Bleed and registration between print and die
Bleed is the printed image extending past the cut line, so that when the die lands slightly off, the edge is still covered with colour instead of showing a white sliver. Without bleed, every registration error becomes a visible defect; with it, the same error is absorbed invisibly.
Bleed is cheap insurance against drift
Die cutting always carries a small registration tolerance — a fraction of a millimetre at best, more on a long run. Bleed of a few millimetres absorbs that drift, so the cut stays inside the image. The die must be positioned against the printed image, not the sheet edge, because the sheet edge and the print can themselves be misaligned; registration marks let the press align print and die to the same reference.
Geometry rules that keep the die reliable
Certain shapes are hard on a die and produce poor cuts regardless of skill. Very sharp inside corners, extremely narrow bridges and long thin projections all concentrate stress in the steel rule or the sheet, and they fail by tearing, breaking or drifting over a long run.
| Design feature | Risk | Practical rule |
|---|---|---|
| Sharp inside corners | Tearing, die wear | Use a radius at inside corners |
| Very narrow bridges | Die flex, ragged edges | Keep a minimum bridge width |
| Long thin projections | Bending, breaking in the sheet | Widen or shorten the feature |
| Tight nesting | Cut interference | Leave the minimum safe gap |
These rules are not artistic restrictions; they are the difference between a die that runs thousands of clean sheets and one that starts tearing by the second thousand. Confront them at the design stage, when changing a corner radius costs nothing.
Common defects and where they come from
Die-cutting defects are diagnosable, and each points at a specific cause. The table lists the most common ones so a reject can be traced to its source instead of being written off as "the printer".
| Defect | What it looks like | Usual cause |
|---|---|---|
| Cracked fold | Split surface along the fold line | Fold against grain, or shallow crease |
| Ragged edge | Rough or torn cut line | Worn die, or too little bridge |
| White sliver at edge | Unprinted sliver along the cut | Insufficient bleed or registration drift |
| Card won't separate | Cut does not fully release | Incorrect pressure or die wear |
Each has a fix in the design, the tooling or the press setup — not in the fragrance. Distinguishing a cutting defect from a scent defect matters, because the two are treated by different people; the scent side is covered in our complaint triage note.
Practical guide: die-cutting scent cards without waste
Step 1 — Decide through-cut versus kiss-cut first
Choose whether the card separates from the sheet or peels from a backing, because this sets the die, the pressure and the waste handling.
Step 2 — Nest the shapes for the best clean yield
Arrange shapes tightly while leaving the minimum safe bridge, and confront complex-shape waste early rather than after the die is made.
Step 3 — Run fold lines parallel to the grain
Align folds with the grain, and when the design forces a cross-grain fold, plan a heavier crease or a substrate change.
Step 4 — Crease for the actual substrate and finish
Set crease depth on a sample of the real board and coating, and treat coated boards as the cracking risk they are.
Step 5 — Add bleed and register to the print, not the sheet
Extend the image past the cut line by a few millimetres and use registration marks so the die lands on the image.
Step 6 — Apply the geometry rules before the tooling is cut
Radius inside corners, keep minimum bridges, and widen long thin features while the change is still free.
Frequently asked questions
What is a private label scent card?
A fragrance-impregnated card produced to your brand's specification — your fragrance, substrate, shape and print — by a supplier, while you own the brand and distribute the card under your own name.
What is a typical minimum order quantity for scent cards?
Minimums depend on the substrate, print and fragrance, commonly from a few thousand to tens of thousands of cards per SKU, with bespoke shapes and finishes carrying higher minimums.
What is die cutting in scent card production?
Die cutting is using a steel-rule form to cut or crease a printed sheet in a single stroke, separating the card shape from the sheet and creasing the fold lines that let it fold cleanly.
What is the difference between through-cut and kiss-cut?
A through-cut separates the card completely from the sheet, while a kiss-cut cuts only the top layer and leaves a backing so the card peels off. The choice changes the die, pressure and waste handling.
Why do my scent card folds crack?
Usually because the fold runs against the grain, or the crease is too shallow for the board. Align folds with the grain, and set the crease depth on a sample of the actual substrate and finish.
What is bleed, and why do I need it?
Bleed is the printed image extending past the cut line so a small registration error still leaves the edge covered with colour. Without bleed, every die-cut drift becomes a visible white sliver.
How can I reduce waste in die cutting?
Nest shapes as tightly as the die and cut quality allow, and confront complex-shape waste at the design stage.
What causes a ragged cut edge?
A worn die or too little bridge between adjacent cuts. Keep a minimum gap between shapes and inspect the die for wear across the run.
Conclusion
Die cutting and folding are where a scent card design meets the physics of paper, and most of the cost and most of the rejects are decided there — in the nesting, the grain direction, the crease depth and the bleed — long before the press runs. A design that respects these rules prints cleanly and repeatedly; one that ignores them pays for the ignorance in scrap and cracked edges.
The rules themselves are small and cheap to apply: nest tightly with a safe bridge, fold with the grain, crease for the actual board, and bleed past the cut. Do them at the design stage, when a corner radius or a fold line costs nothing to change, and the card that comes off the die is the card that was designed — clean, whole, and ready to carry the scent.
Discuss your fragrance programme with our team:
WhatsApp: +86 17324762943
Email: adon@customperfumeoem.com
Website: customperfumeoem.com